Drawing is a timeless and relaxing art form, and if you’re a dog lover, learning how to draw a dog is a rewarding way to combine your passion for pets and creativity. Whether you’re sketching for fun, designing a cartoon character, or creating a realistic portrait of your furry friend, this comprehensive guide will walk you through everything you need to get started.
Why Learn How to Draw a Dog?

Before diving into the drawing process, let’s understand why so many artists, from beginners to professionals, are drawn to dog illustrations:
- Emotional Connection: Dogs are beloved companions with expressive faces and unique personalities.
- Artistic Challenge: Dogs come in all shapes and sizes, offering opportunities to practice texture, proportion, and anatomy.
- Creative Expression: Drawing dogs allows you to create everything from cute cartoons to lifelike portraits.
Learning how to draw a dog enhances your ability to capture emotions, improve observational skills, and increase your overall artistic confidence.
Materials You’ll Need

To begin, gather the following materials:
- Pencil (preferably HB or 2B)
- Eraser
- Paper or sketchbook
- Fine-liner pen or marker (for final outlines)
- Colored pencils or watercolors (optional for finishing touches)
Understanding Dog Anatomy
Before sketching, it’s helpful to understand basic dog anatomy. Though breeds differ, dogs generally have the following common features:
- Head with a rounded skull and elongated snout
- Upright or floppy ears depending on the breed
- Four legs with paws (front legs often straighter, back legs more angled)
- Tail (varies in shape and length)
Studying reference photos will help you better grasp these structures.
Step-by-Step Instructions on How to Draw a Dog
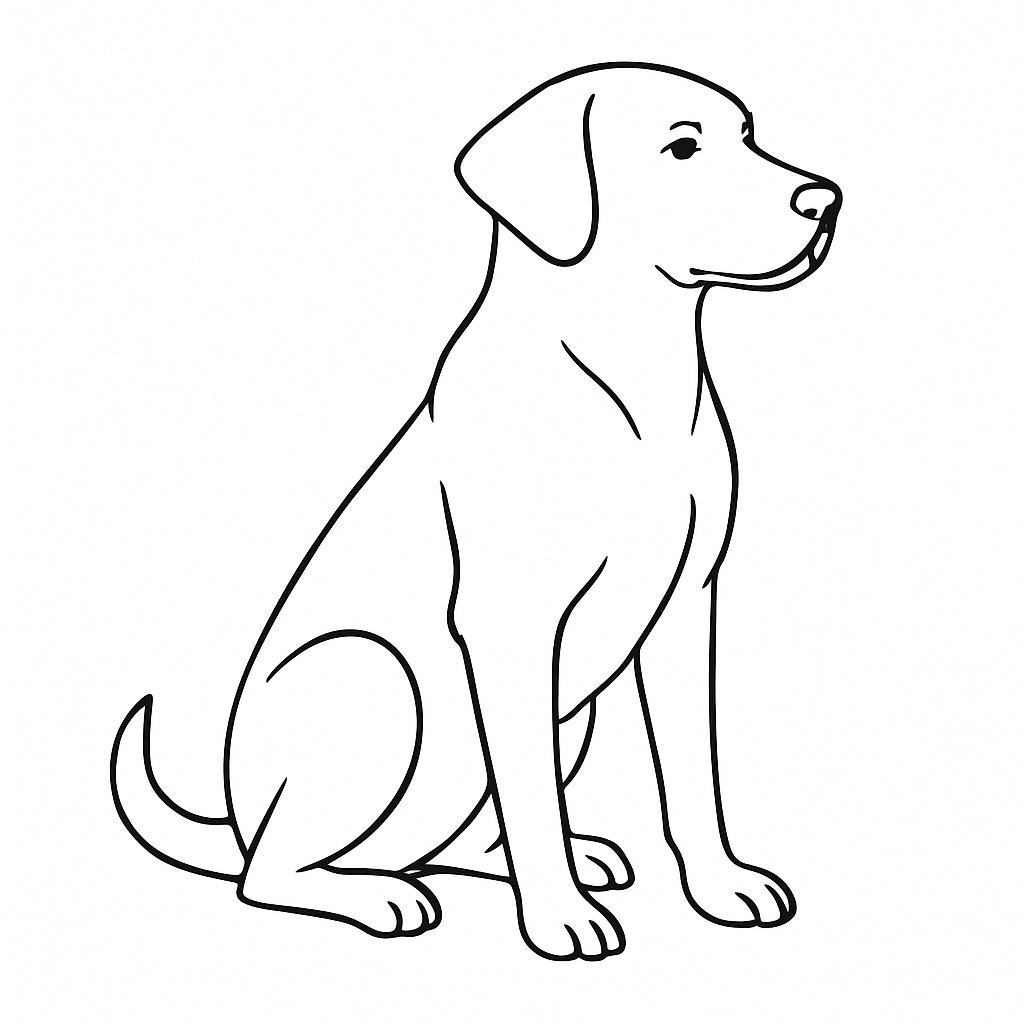
Let’s get into the step-by-step process. These instructions will help you learn how to draw a dog in a natural sitting pose.
Step 1: Basic Shapes

Start with simple shapes to create a framework:
- Draw a large oval for the body.
- Add a smaller circle above it for the head.
- Sketch two smaller circles for the shoulders.
- Add a line to indicate the direction the dog is facing.
Step 2: Guidelines for Proportions

- Divide the head circle with a vertical and horizontal guideline.
- Mark the positions for the eyes on the horizontal line.
- Sketch the muzzle extending from the lower half of the face.
Step 3: Outline the Body


- Connect the head and body with curved lines for the neck.
- Add outlines for the legs, using cylinders and curves.
- Shape the back legs with bent lines to suggest a seated posture.
- Add a tail curving to one side.
Step 4: Add Facial Features

- Draw two oval eyes on the horizontal guideline.
- Add a rounded triangle for the nose at the bottom of the muzzle.
- Sketch the mouth using a curved line under the nose.
- Add ears—either triangle-shaped or droopy depending on your dog.
Step 5: Refine the Sketch
- Erase unnecessary guidelines.
- Adjust lines to better define the dog’s figure.
- Add fur texture with light, short strokes.
Step 6: Final Outline
- Use a fine-liner pen to trace over your final lines.
- Wait for the ink to dry, then erase pencil marks.
Step 7: Add Details and Color (Optional)

- Shade areas for depth (under ears, between legs).
- Add color using pencils or watercolors.
- Highlight eyes and nose for a lively appearance.
Drawing Different Breeds
Once you master a basic dog form, try experimenting with specific breeds. Each breed has unique characteristics:
- Labrador Retriever: Broad head, floppy ears, and a stocky build.
- German Shepherd: Pointed ears, long snout, and bushy tail.
- Poodle: Curly fur and slender legs.
- Bulldog: Short snout, wrinkles, and a stout body.
- Dachshund: Long body and short legs.
- Learn more about different dog breads here.
Look at reference photos and practice varying body proportions, fur textures, and facial features.
Tips for Improving Your Dog Drawings
- Practice regularly: The more you draw, the more confident you become.
- Use references: Study real dog photos for better accuracy.
- Break it down: Start with basic shapes and build complexity gradually.
- Focus on expression: Eyes and posture convey emotion.
- Try different poses: Drawing dogs standing, lying down, or playing builds skill.
Common Mistakes to Avoid
Even seasoned artists make mistakes. Here are a few to watch out for:
- Ignoring proportions: Always use guidelines to keep anatomy in check.
- Over-detailing too soon: Finalize basic shapes before jumping into textures.
- Flat drawings: Use shading to add depth and life.
- Copying blindly: Understand the form rather than just copying lines.
Fun Drawing Challenges
To keep things interesting and practice how to draw a dog, try these mini challenges:
- Draw your dog from memory.
- Create a cartoon version of your favorite breed.
- Illustrate a dog in action (running, jumping).
- Combine two breeds into one unique dog.
Sharing Your Art
Once you feel proud of your drawing, share it with others!
- Social Media: Post on platforms like Instagram, facebook or Pinterest.
- Art Communities: Share on DeviantArt, Reddit (‘r/drawing’), or Facebook groups.
- Pet Portrait Services: Offer custom drawings to friends or start a side gig.
Final Thoughts
Learning how to draw a dog is a fun and fulfilling journey. Whether you’re sketching as a hobby or looking to improve your overall art skills, dogs offer a wonderful subject full of emotion, character, and variety. With practice, patience, and creativity, you’ll be drawing dogs that look ready to wag their tails right off the page.
So grab your pencil, pick your pup, and start drawing today!